A chipped tile edge can turn a correctly measured cut into a rejected piece. For contractors, fabricators, and tile distributors, knowing how to prevent tile chipping is not just about appearance. It reduces waste, protects installation schedules, and helps crews deliver a finish that meets commercial standards.
Most edge damage occurs during cutting, but the root cause is rarely just one factor. Blade specification, machine condition, material support, feed pressure, and the tile body all affect the result. A reliable process starts by treating the tile, blade, and cutting equipment as one system.
Why Tile Chips During Cutting
Tile chipping happens when the cutting edge breaks material away instead of removing it in a controlled path. Ceramic glaze is brittle, porcelain is dense and hard, and large-format sintered slabs can be especially sensitive to vibration and heat. A blade that is too aggressive, dull, damaged, or poorly matched to the material can pull chips from the finished edge.
Machine movement is another common cause. A saw table with play, a worn bearing, a loose guide rail, or insufficient water flow can create vibration at the point where the blade exits the tile. Even a premium blade cannot compensate for an unstable machine.
The direction of the cut also matters. The blade commonly causes the greatest breakout where it exits the material. This is why an otherwise clean cut may have a chipped top corner or a rough trailing edge. The correct approach depends on whether the tile is face-up or face-down, the blade rotation, and the equipment design.
How to Prevent Tile Chipping With the Right Blade
Blade selection is the first control point. A general-purpose diamond blade may cut many materials, but it will not always produce the edge quality required for glazed ceramic, polished porcelain, glass tile, or sintered stone. For commercial work, the blade should be selected for the tile body, surface finish, thickness, and machine type.
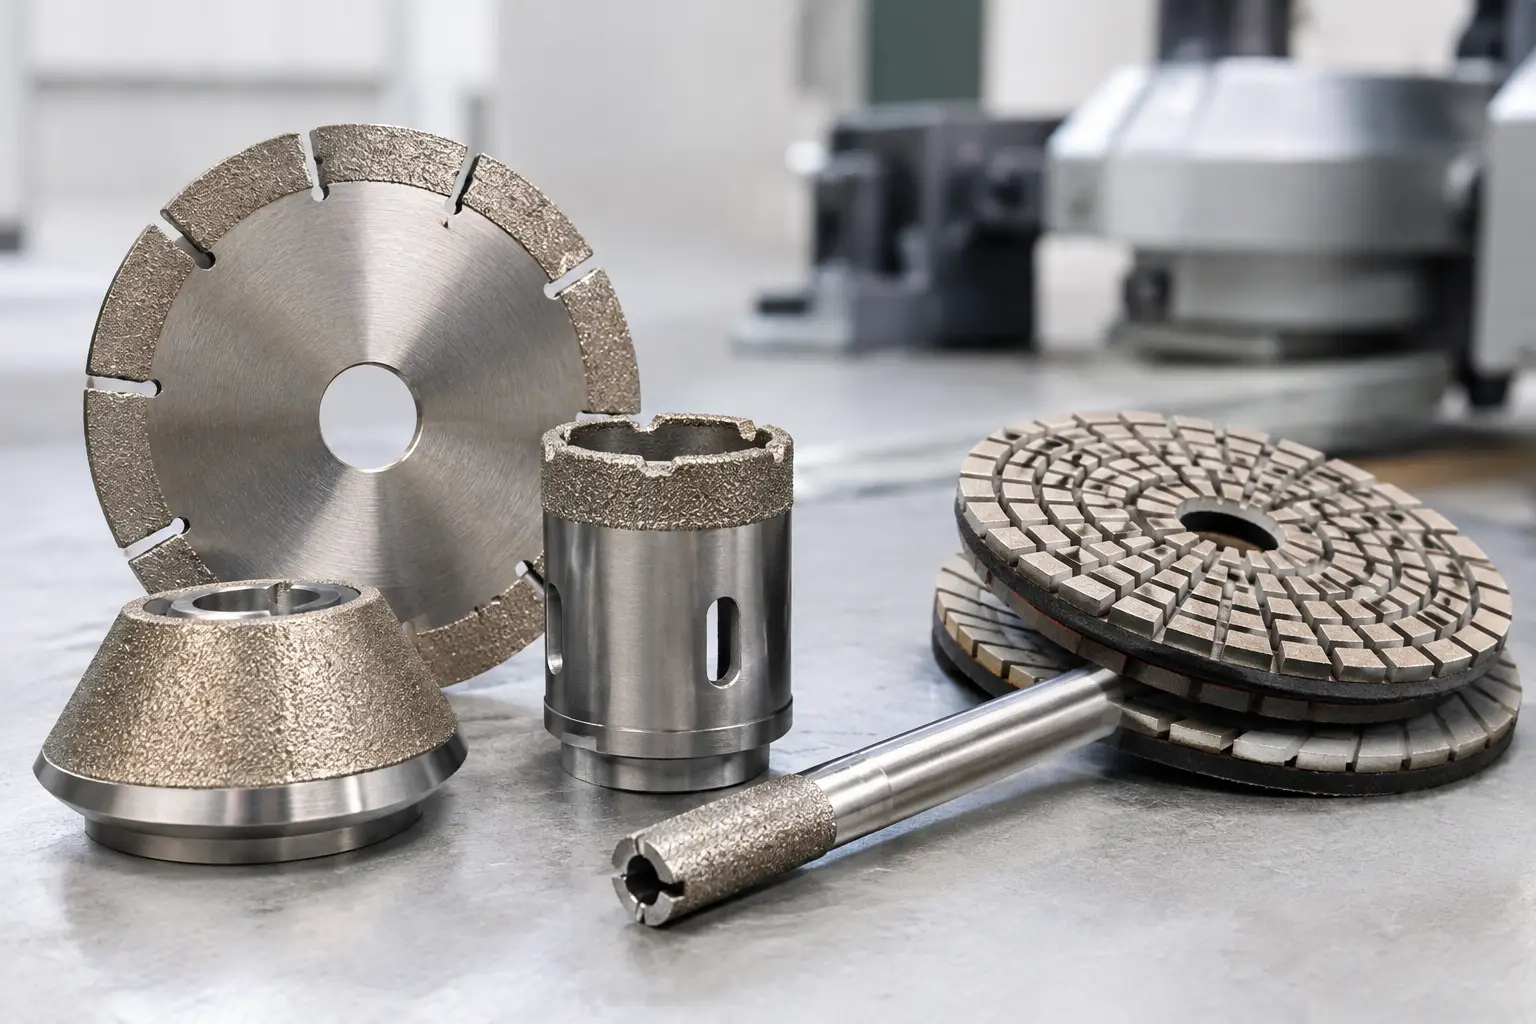
A continuous-rim diamond blade is generally the preferred option when a clean finish is the priority. Its uninterrupted cutting edge provides more consistent support at the cut line than a segmented blade. Thin-kerf continuous-rim blades can also reduce material displacement, although an overly thin core may deflect if the operator pushes too hard or the saw is not properly aligned.
For hard porcelain, choose a blade designed for dense ceramic materials rather than relying on a standard masonry blade. The diamond bond must expose new diamond particles at a controlled rate. If the bond is too hard for the application, the blade can glaze over and stop cutting efficiently. If it is too soft, the blade wears too quickly and may lose edge stability.
Inspect the blade before each shift. Replace blades with visible warping, missing rim sections, cracks, heavy glazing, or excessive wear. A dull blade creates heat and pressure, both of which increase chipping risk. Dressing the blade with an appropriate abrasive dressing block can restore cutting action when the rim is glazed, but it will not correct a bent core or structural damage.
Set Up the Saw Before the First Cut
A clean cut begins before the tile touches the blade. Check that the blade runs true and that the flange surfaces are clean and undamaged. Debris between the flange and blade can cause runout, creating an uneven kerf and chipped edges.
Verify that the saw table or carriage moves smoothly without side-to-side movement. The tile must remain flat and fully supported through the cut. Large-format tiles and narrow strips require extra support because they can flex near the end of the cut. Flexing creates sudden stress at the edge and can cause a corner to break away.
Water delivery is equally important on wet saws. Water cools the diamond rim, clears abrasive slurry from the cut, and limits heat buildup in the tile. The flow should reach both sides of the blade at the cutting zone. Weak or poorly aimed water flow often leads to slower cutting, glaze damage, and premature blade wear.
Before processing a production batch, make a test cut using the actual tile and the intended saw settings. Examine both the entry and exit edges under good lighting. This small check is especially valuable when switching between suppliers, tile lots, finishes, or thicknesses. Two porcelain tiles with similar appearance can behave very differently during cutting.
Control Feed Rate and Cutting Pressure
Forcing a tile through the blade is one of the fastest ways to create chips. Use a steady, controlled feed rate that allows the diamond rim to grind through the material. When the operator hears the motor laboring, sees water turning excessively hot, or notices the tile vibrating, the feed rate is too high or the blade is no longer cutting efficiently.
The correct speed depends on the material. Softer ceramic tiles can often be cut more quickly, while dense porcelain and sintered materials need a slower, more controlled pass. Slower is not always better, however. Excessively slow movement can generate heat and polish the blade rim. The goal is stable cutting action, not minimum travel speed.
Support the tile with light, even pressure on both sides of the cut line. Do not twist the tile to correct its path once the blade has entered the material. If the cut drifts, stop and inspect the guide, fence, blade alignment, and carriage movement. Steering the tile against the blade increases side loading and can chip the glaze or crack the tile body.
For demanding porcelain or polished surfaces, use a two-pass method when the saw and blade allow it. First, make a shallow scoring pass along the cut line. Then complete the full-depth cut with the same controlled feed. This process reduces the amount of material that breaks away at the surface, though it adds cycle time and may not be necessary for standard ceramic work.
Protect the Exit Edge and Finished Surface
The last section of a cut deserves the most attention. As the blade exits, reduce feed pressure slightly and keep the offcut supported. Letting a narrow offcut fall, hang, or vibrate can chip the final inch of the tile even when the rest of the cut is clean.
For tiles with a sensitive finished face, cutting orientation should be confirmed through a test piece. Depending on blade rotation and saw design, placing the finished face up or down may produce a cleaner visible edge. There is no universal rule that applies to every machine. The correct orientation is the one that minimizes breakout on the exposed surface.
Masking tape over the cut line can help protect delicate glazed or glass surfaces in some applications. It is not a substitute for the right blade or saw setup, but it may reduce minor surface spalling. Mark the cut line carefully, apply tape without wrinkles, and avoid relying on tape to hold a poorly supported tile together.
After cutting, handle pieces by supporting their full length. Freshly cut narrow strips, L-shaped pieces, and large-format panels are more vulnerable to impact damage during transport than during the cut itself. Store them on padded supports and keep cut edges away from metal racks, hard floors, and loose debris.
Common Errors That Increase Chipping
Several operating habits repeatedly lead to poor edge quality:
- Using a worn universal blade for polished porcelain or glazed ceramic.
- Cutting with inadequate water flow or contaminated saw-water systems.
- Pushing the tile faster when the blade starts to slow down.
- Allowing the offcut to drop at the end of the pass.
- Ignoring saw-table play, blade runout, or misaligned fences.
These issues are preventable, but they need to be checked consistently. For distributors and procurement teams, this is also why blade consistency matters. A blade that performs well on one shipment but varies in rim quality, core tension, or diamond distribution on the next shipment makes it difficult for end users to maintain repeatable cutting results.
Build a Repeatable Tile-Cutting Process
Professional edge quality comes from standardizing the process. Match each blade category to the materials your crews or customers cut most often, document the preferred machine settings, and train operators to recognize the signs of a glazed or damaged blade. When material changes, test before committing to a full production run.
For high-volume tile cutting, the lowest blade purchase price is rarely the lowest operating cost. A stable, application-specific diamond blade can reduce rejected pieces, rework, labor interruptions, and customer complaints. Ryhyoma supports B2B buyers with diamond tool specifications built around repeatable cutting performance, including options for ceramic and porcelain applications.
The cleanest tile edge is usually the result of small disciplines applied every time: a matched blade, a stable saw, adequate water, controlled feed, and full support through the exit of the cut. Keep those controls in place, and tile chipping becomes an exception to investigate rather than a routine cost of the job.